Installation
Download the latest installer here if you haven't already.
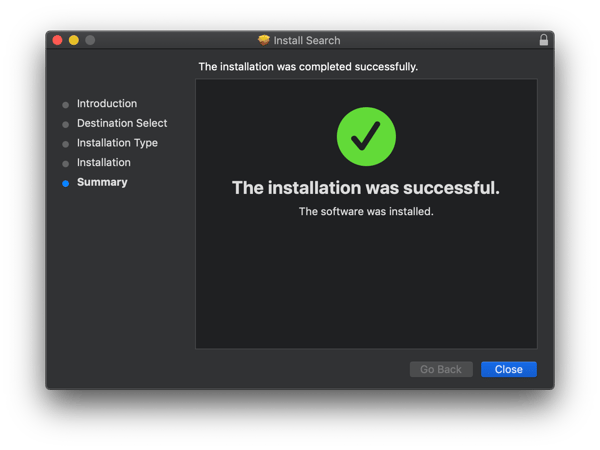
Run the installer, and follow steps to complete the installation.
iLok Authorization: Start Trial or Activate
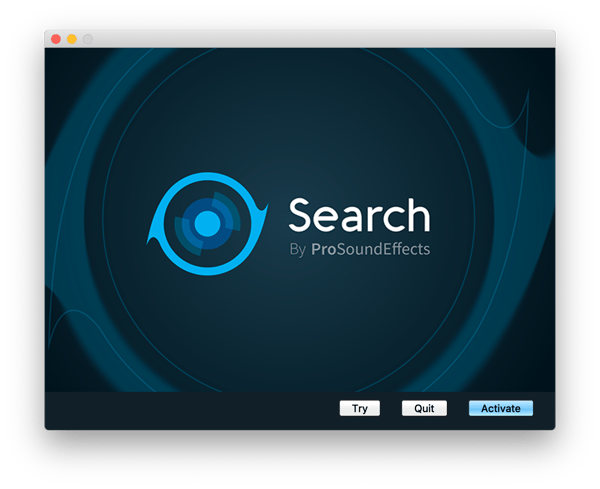
When you run Search for the first time, you will be prompted to either:
- Try: Start the 7-day trial.
- Activate: Enter your iLok Activation code if you purchased a license.
In both cases, you do not need an iLok dongle to run Search! You can activate the iLok license to your computer or via iLok cloud.
Follow the instructions below to either start your trial or activate your license:
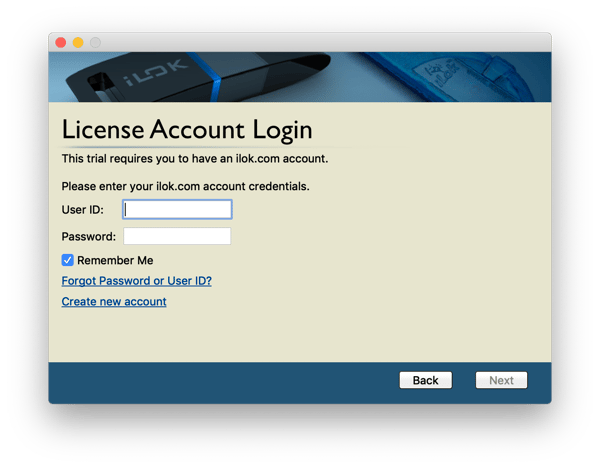
Start 7-Day Trial
Click the “Try” button. If you already have an iLok account, enter your credentials and the trial iLok license will be deposited to your account. If you don’t have an iLok account, click “Create New Account” to visit the iLok.com website and create an account. Once your account has been created, come back to Search and enter your ID and password.
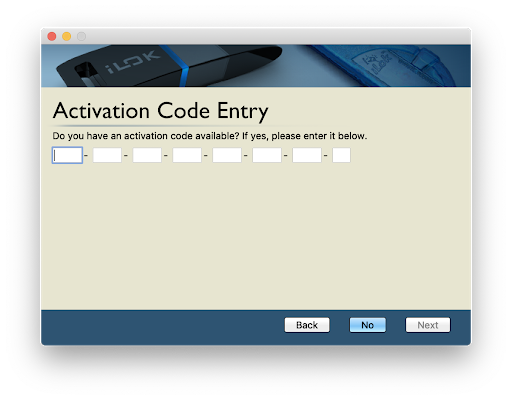
Activate with iLok Activation Code (License Key)
If you purchased Search, visit My Downloads in your account to access your activation code (license key).
To activate a perpetual iLok license, click the “Activate” button and enter your activation code to redeem your license and deposit to your iLok account. The iLok license can be activated to an iLok dongle (second generation or later), iLok Cloud, or to your machine.
If you run into any issues with iLok activation, be sure to check out the iLok FAQ.
Databases
Scanning
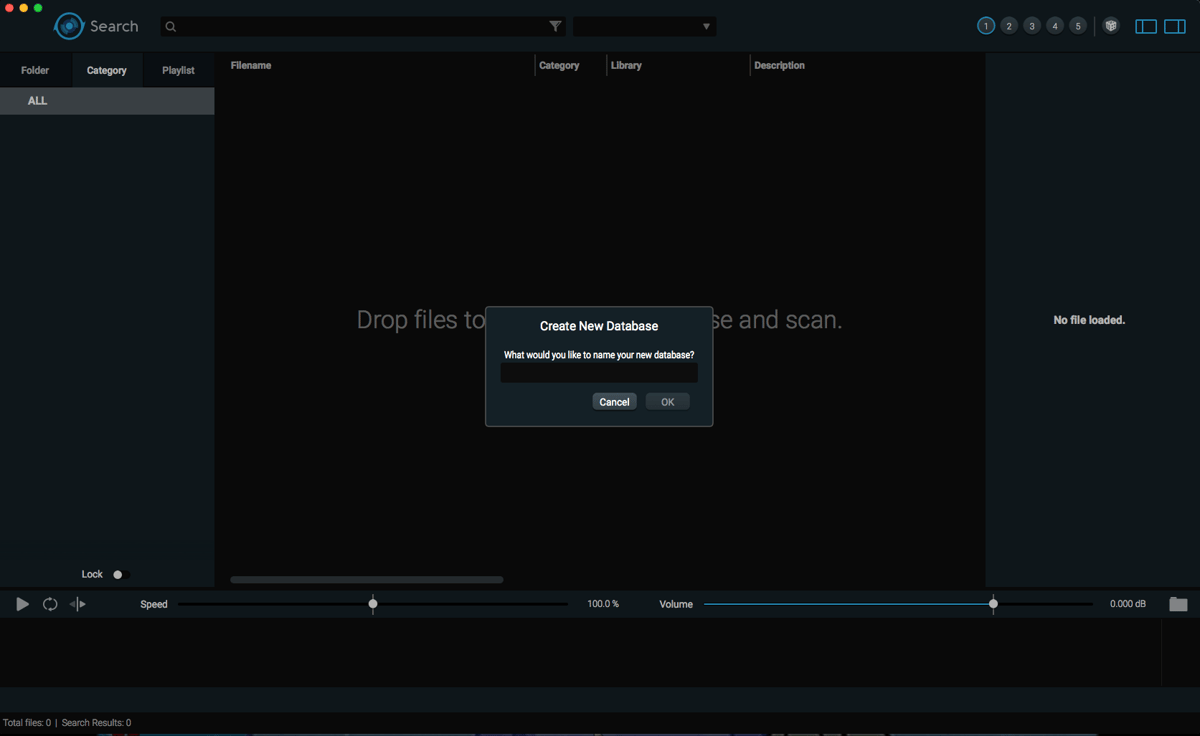
Before getting started using Search, we must create our first database. To do this, simply drag and drop audio files (or directories of audio files) onto Search. Currently, Search supports WAV, AIFF, OGG, FLAC, and MP3 (read only). Since this is your first database, you will be prompted to name the database before scanning.
After entering a name for the database, click OK and Search will begin the scanning process. Depending on the number of files to scan and the performance of your machine, this might take a while. Please be patient.
Column Display
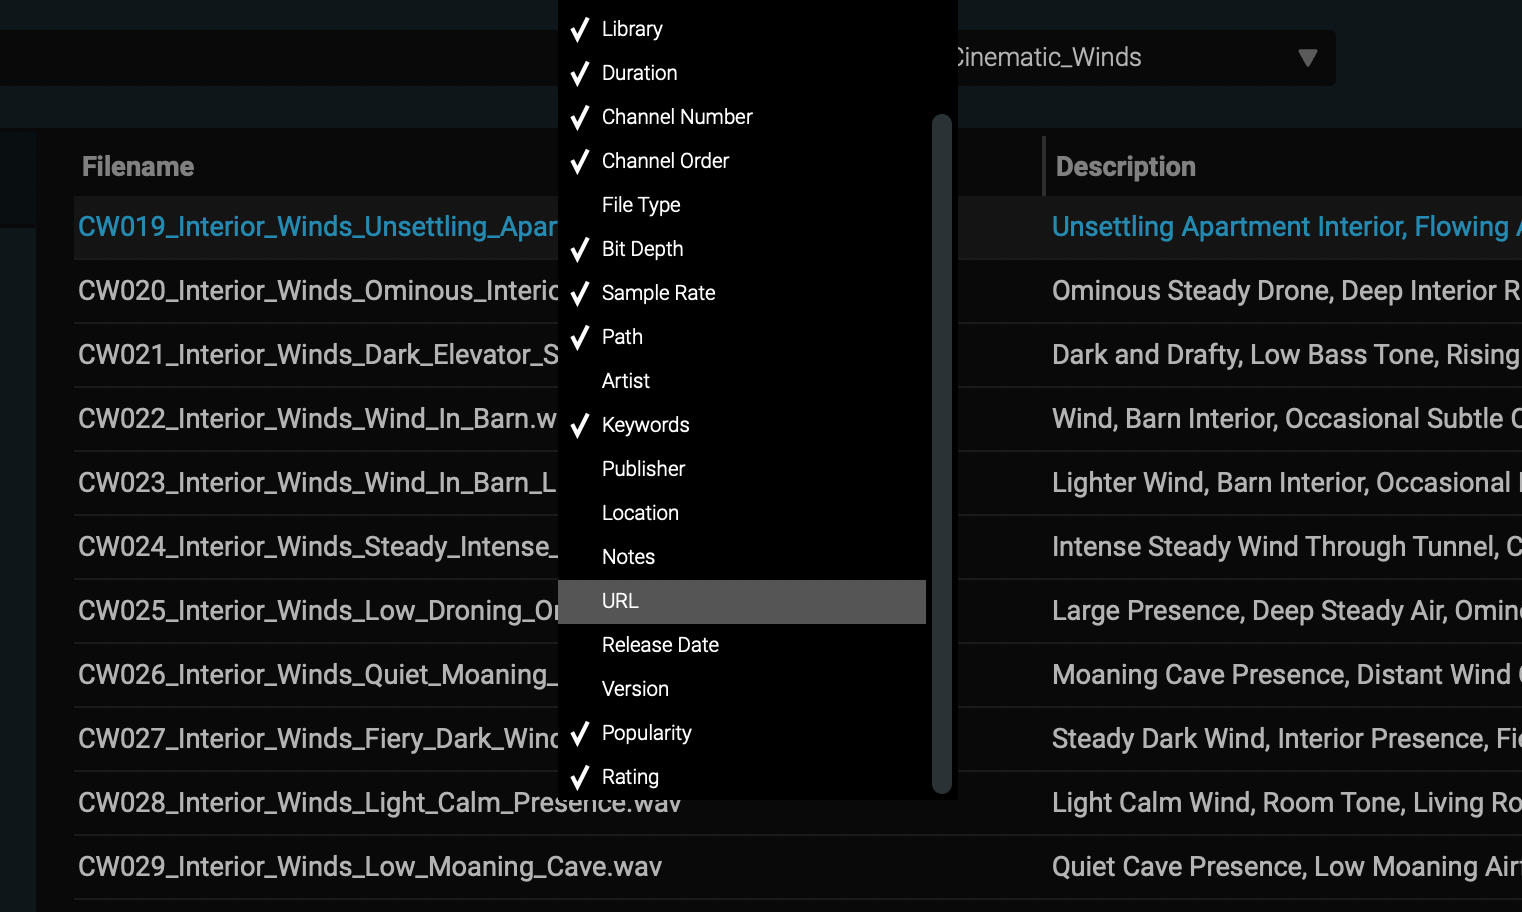
After the scan finishes, your sounds will be displayed in the results pane. Each column corresponds to a metadata field. You can customize the columns displayed by right-clicking (or Control+Click) anywhere on the column titles. This brings up a full list of metadata fields that can be shown or hidden as necessary.
As you make changes to the view, including columns displayed and column width, you are updating View Preset #1

Any changes to view settings will automatically update the selected preset.
Editing Metadata
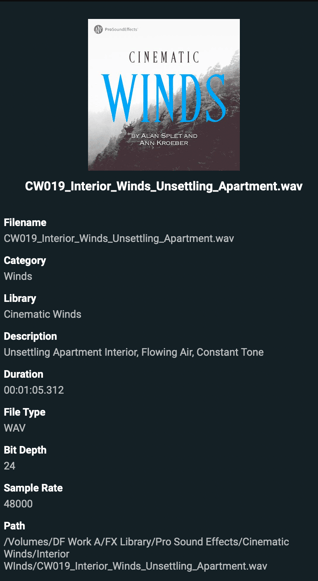
Search reads and writes metadata to an open iXML format and the standard Broadcast WAV format easily readable by most applications. All of this metadata can be viewed in detail in the inspector pane. This window can be shown/hidden using the Show/Hide inspector button: ![]()
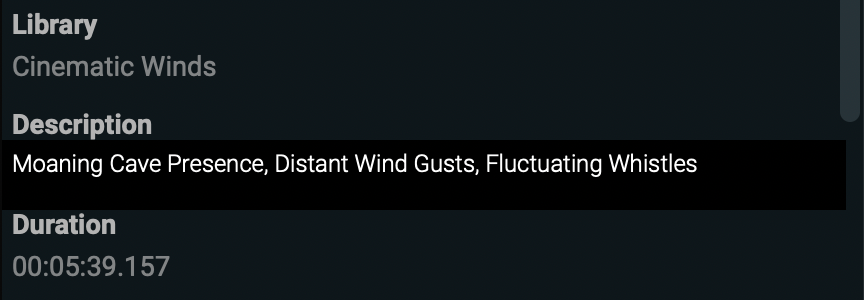
To edit a metadata field, double-click on the existing text or blank space beneath the metadata title.
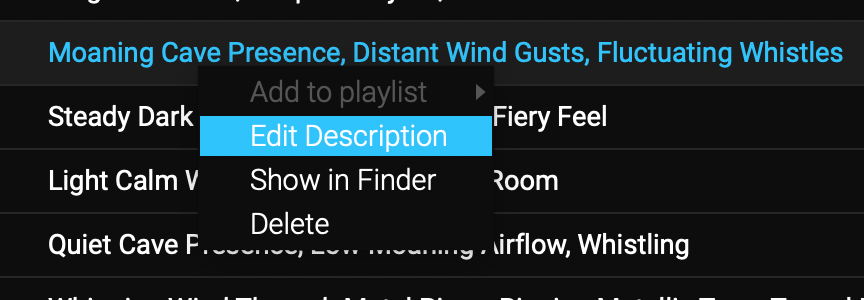
You can also edit metadata fields directly in the results pane by right-clicking (control+click) on a sound and choosing the “Edit Description” option for example:
Changes to metadata are only reflected in the Search database. If you’d like to embed your metadata changes to the file itself for use in other applications, use the “Write Metadata to Changed” command in the database menu.
Import/Export Database
You may want to export your database at some point as a backup, or to accommodate more advanced metadata editing in Excel, Google Sheets, or Apple Numbers. This can be achieved using the “Export Database” command in the Database Menu. This exports all fields of the database as a CSV text file that can be imported and manipulated by many applications.
You can import any previously exported database using the “Import Database” command in the Database menu.
Searching
This is what Search is all about!
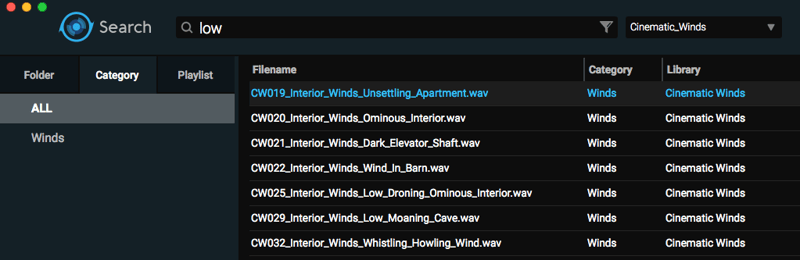
For a search that includes all search terms simply type your search query with spaces:
- E.g. Crow Distant
As you type search terms, Search will display suggested search terms based on terms in the description.
To perform a search for multiple terms, use “(“ and commas between terms.
- E.g. (Dark, Moody, Drafty)
To perform a search that excludes certain terms, use a “-”
- E.g. Crow -Crowd
Click the advanced search icon to reveal the advanced search popup. This is a user-friendly version of all of the search functions.

Randomize Results
Many sound designers like to shuffle search results for a little sonic inspiration. To randomly shuffle the results list, use the dice icon: ![]()
Browsing
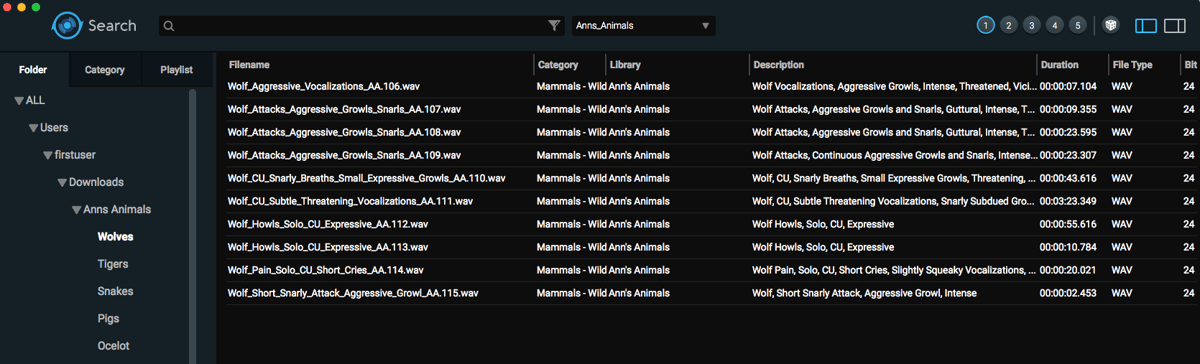
The browser allows you to drill down on your search results even further by Folder or Category. This is very useful especially if you have a larger sound effects library already organized into folders by project or recordist. The browser can be shown or hidden using the Show/Hide Browser button: ![]()
As you click on folders, the results will be filtered only to include the selected folder and all nested folders:
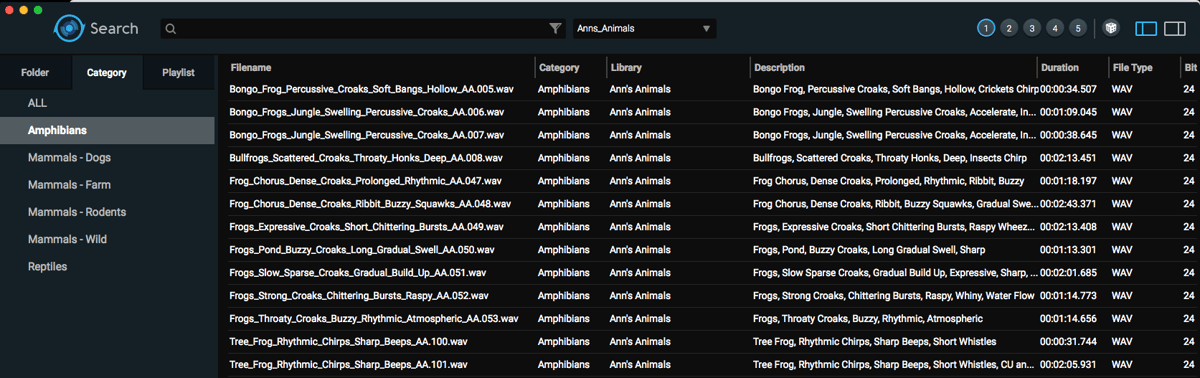
The same goes for category:
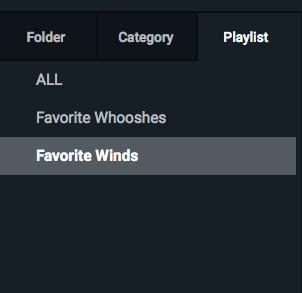
Playlists
Use the playlist tab to create and browse playlists. This can be useful when collecting a palette sounds for a particular project or to have easy access to your favorite sounds.
By default, performing a new search will clear the filters - if you would like to constrain a search to a particular folder, category, or playlist, use the “Lock” switch near the bottom of each tab: 
Auditioning Sounds
Search will follow your system output device. If you experience an issue getting output to the correct output device, quit Search, double check out system output device, then start Search again.
There are several playback options just above the waveform:
![]() Play (Spacebar)
Play (Spacebar)
![]() Loop Playback
Loop Playback
![]() Playback direction - toggles between forwards and reverse
Playback direction - toggles between forwards and reverse
There is an autoplay option in user preferences if you’d like Search to autoplay when a new sound is selected.
Waveform Selection
Simply click and drag on a waveform to make a selection:
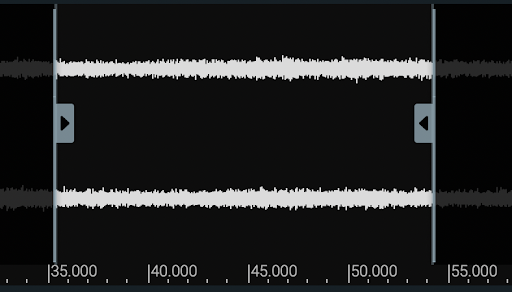
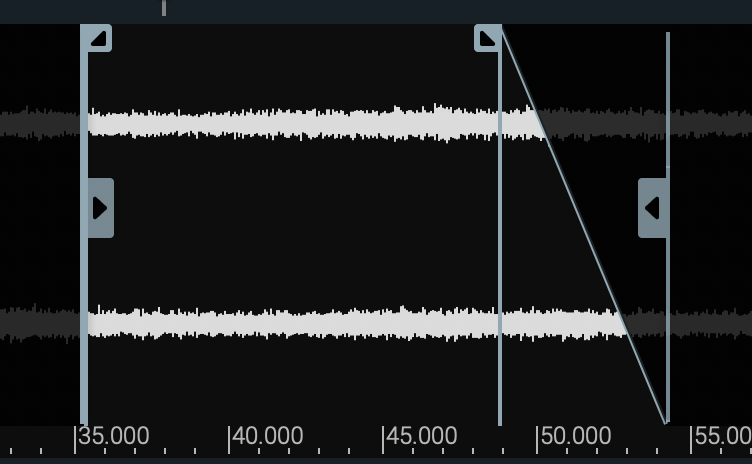
Selections can be refined using the Selection Start/End trim. Fades can also be applied to the selection if you prefer fades to be applied before transfer. To apply fades, simply hover near the top right or top left of a selection to reveal the fade trim:
Volume
Output volume can be controlled using the volume slider. Please note this simply controls the audition volume and will not affect the meter readings or the transfer gain. Double-click or Option-click on the volume slider will reset it to 0dB.

Speed
Playback speed can be adjusted using the speed slider. This is varispeed slider so changes to playback speed also affect pitch. This is a bread and butter tool of the sound designer!

Channel Selector
Search supports most multi-channel formats. If you’d like to solo individual channels of a multichannel file, simply click the channel you’d like to audition. CMD+Click will allow you select multiple channels. For example, this could be used to grab just the Left and Right channels of a 5.1 file.

Exporting Sounds
There are a few methods of transferring your sounds to other software. You can drag and drop files directly from the results:
.png?width=680&name=Screen%20Shot%202019-05-14%20at%202.33.33%20PM%20(2).png)
Or you can create a selection in the waveform, and drag and drop that selection to your destination software. To achieve this, create a selection, then click and drag from the bottom half of the waveform:
.png?width=263&name=Screen%20Shot%202019-05-14%20at%202.34.27%20PM%20(2).png)
Spot to Pro Tools
To spot a file or a selection of a file directly to the Pro Tools timeline, simply use the keyboard shortcut ‘S”. This will copy the file to your session’s audio files folder and insert the sound on the selected track at the selection on the Pro Tools timeline.
Your selection can be spotted with “handles,” which is additional audio on either side of the selection. This gives you a little more to play with once the selection is imported into Pro Tools, allowing for easy crossfades. Handle length can be specified in user preferences.